I’ve always enjoyed Test-Driven Development. I find that it helps keep me focused on thinking about small steps and object interactions. But TDD has always been a challenge in UI heavy applications, and even more so in the mobile world where much of what we do is user interface interactions. But over the past couple of years, a lot of work has been done to make iOS and Xcode much more amenable to TDD. However, I haven’t found a great tutorial that goes end-to-end in getting up and running with tests in a step-by-step fashion. Gordon Fontenot’s Test Driving iOS – A Primer comes closest, but still leaves out some critical steps.
For this article, we’ll build towards an implementation of Conway’s Game of Life – a common exercise used in Code Retreats around the world. So let’s get started!
Getting Setup
To get setup, you’ll need to install:
(Note that if this is your first time using Cocoapods, you will need to open a terminal after installing and run the pod setup command. Otherwise you may end up with an error like No such file or directory @ dir_initialize - /Users/foyc/.cocoapods/repos (Errno::ENOENT) the first time you try to run pod install)
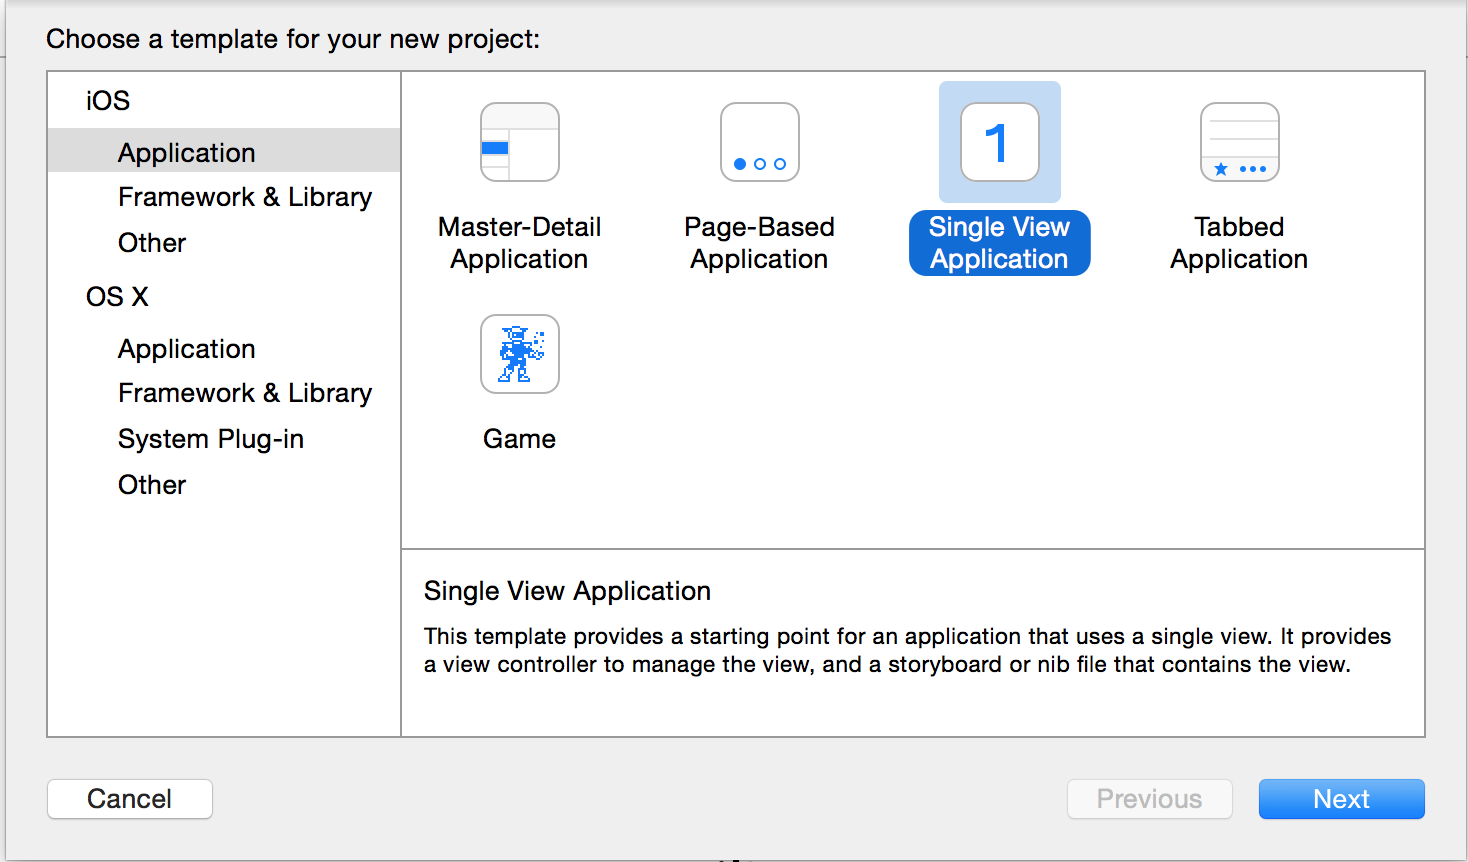
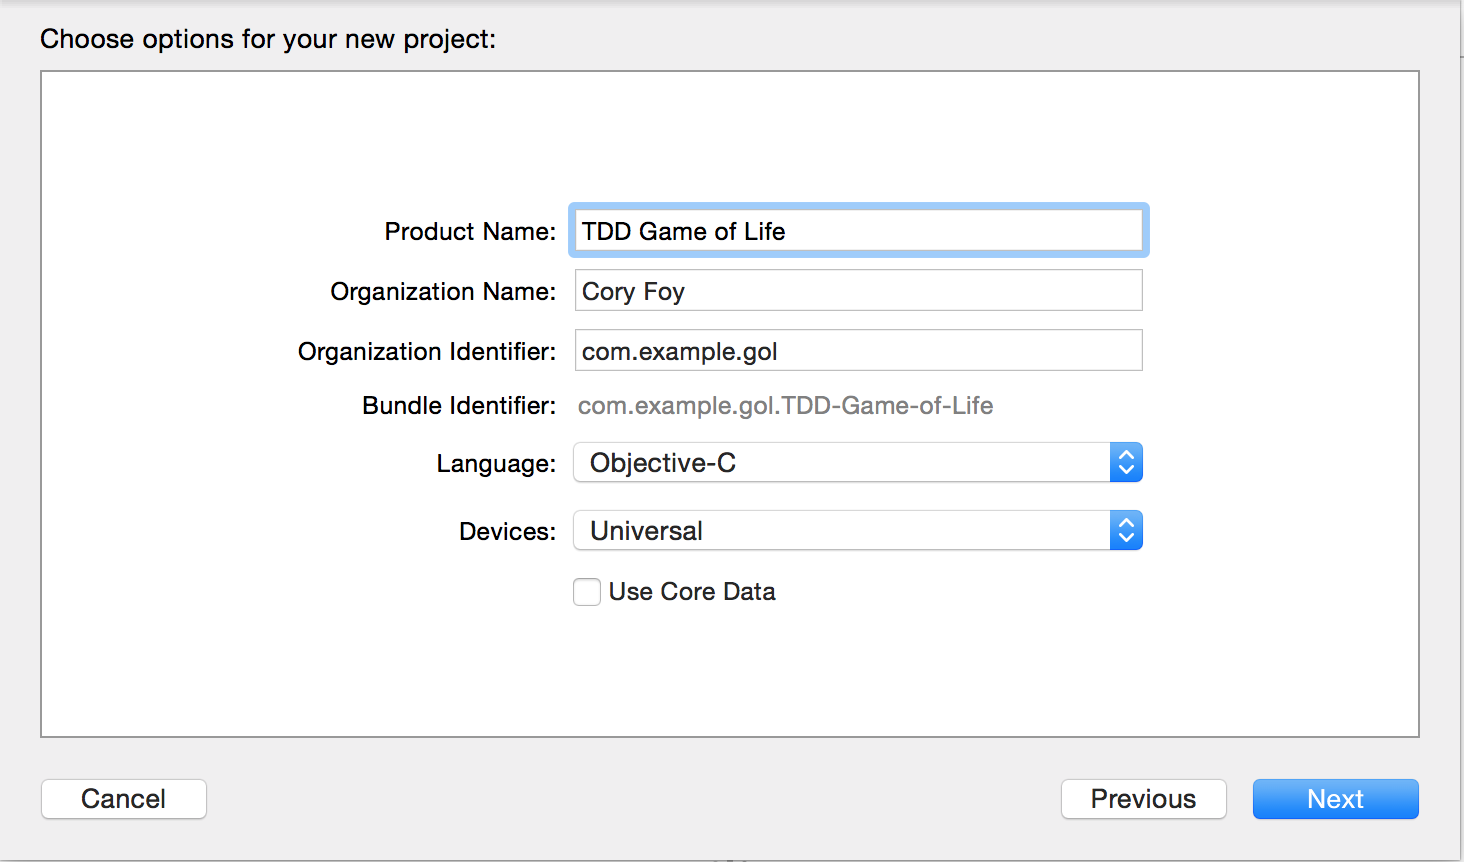
Open Xcode and create a new iOS Single View Application. Name it TDD Game of Life and set the org identifier to com.example.gol (if you don’t already know what to put in there). Select the directory to put it in, and let it create the project.
Once you have the project created, close Xcode and open up a Terminal prompt and navigate to the directory that houses your project. Once there, run the command pod init. This creates a default Podfile for Cocoapods. This is where you’ll list the frameworks we’ll be using – similar to a Gemfile from the Ruby world.
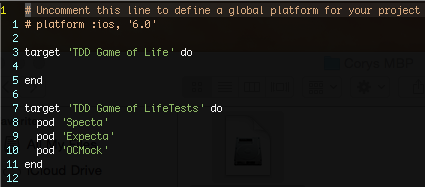
Open the Podfile in your favorite text editor and add the following:
pod 'Specta'
pod 'Expecta'
pod 'OCMock'
in the target 'TDD Game of LifeTests' section:
Save the Podfile, and then in your terminal, run the command pod install. You’ve now installed the Pods into your Xcode project and are ready to start testing!
Write our first test
Conway’s Game of Life is based on some pretty simple rules. One of those rules is that a cell can be in one of two states – alive or dead – and can either be killed or resurrected based on the state of the cells surrounding it.
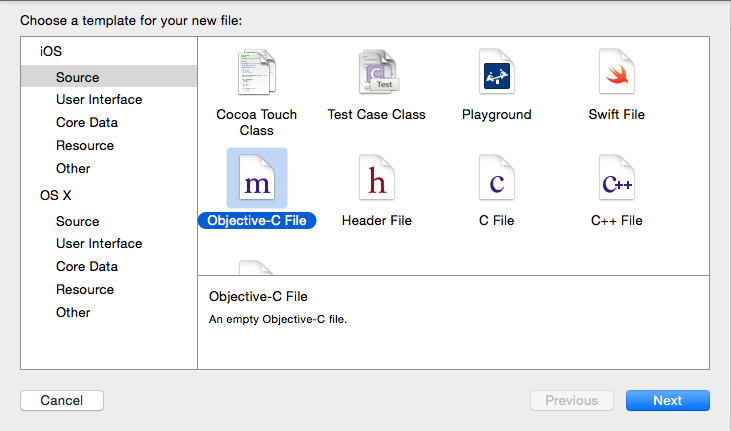
The behavior of killing and resurrecting a cell seems to be a small enough chunk of behavior we can start with. Navigate to your project directory and open the “TDD Game of Life.xcworkspace” file in Xcode. In Xcode, right-click on TDD Game of LifeTests and choose “New File”. In the dialog, choose iOS->Source->Objective-C File:
Name it CellSpec and leave the File Type as “Empty File”, then click Next. Make sure it is adding the file to the Tests folder (leaving everything else as defaults), and click Create. Xcode should now open the newly created file.
Inside the file, you should see an import for Foundation.h. Just below that import line, add the following:
#import <Specta/Specta.h>
#define EXP_SHORTHAND
#import "Expecta.h"
#import "Cell.h"
The first import includes the Specta library. The second and third lines include the Expecta library and setup a shorthand to prevent us from having to write expectations with the prefix EXP_expect.
The final line imports our Cell class which doesn’t exist yet! It doesn’t exist because no test has told us to create it (and yes, compiler errors in our tests cound as test failures). So let’s try to build our test file. Either go to Product->Build or just hit Command-B. It should fail because Cell.h couldn’t be found. (If it fails for any other reason, make sure you have Cocoapods installed properly and ran the pod install command).
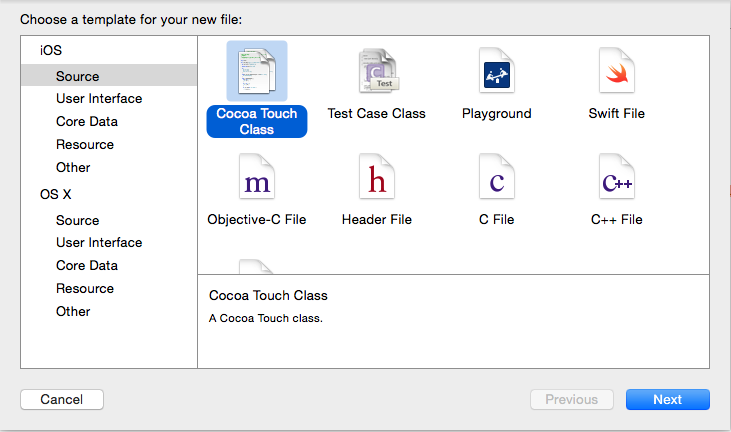
To make this “test” pass, right-click on the “TDD Game of Life” folder and choose New File. Selection iOS->Source->Cocoa Touch Class:
Name the class Cell and leave all of the other defaults as is, then click Next. Make sure it is adding the file to the main “TDD Game of Life” folder, and click create. Once the file is created, build the application again using Command-B. You should see the build succeed. (If your build does not succeed because of a linker error, close Xcode and reopen it so the Cocoapods changes we made earlier can take effect).
Now let’s add some behavior. To write tests, we wrap our tests with SpecBegin/SpecEnd macros. So back in our CellSpec.m class, add the following code under the import statements:
SpecBegin(Cell)
describe(@"Cell", ^{
  it(@"is dead on creation", ^{
    Cell *cell = [[Cell alloc] init];

    expect([cell isAlive]).to.equal(NO);
  });
});
SpecEnd
There’s a lot of design assumptions packed into this one test. First, we assume we can create a Cell with no other information. Secondly. we assume we can query a cell’s status by using a method called isAlive. Lastly, we assume that method tells us that status by giving us a binary YES/NO.
We’ll go with those assumptions for now and see if we can get our test to pass. Trying to compile results in an exception because isAlive is not defined. In our Cell.h class, make your code look like this below the import line:
@interface Cell : NSObject
- (BOOL)isAlive;
@end
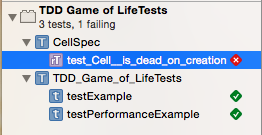
This should allow us to compile, although with warnings. If we now hit Command-U (or go to Product->Test), we should see our first test failure!
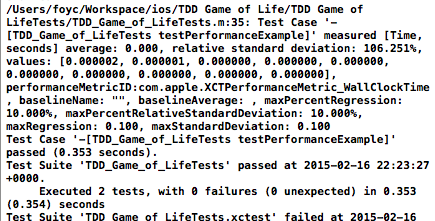
We can also open the log files by enabling the bottom view in Xcode. In the upper right hand corner there shoudl be three boxes with lines to the left, bottom and right. Click on the one with the line on the bottom:
and you’ll see output similar to:
Alright! We have our failing test! Let’s make it green! Open Cell.m and implement our isAlive method by making our code look like the following under our import statement:
@implementation Cell

- (BOOL)isAlive
{
    return NO;
}

@end
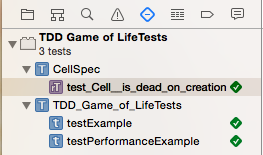
If we now hit Command-U, we’ll see our tests pass! (If you don’t see the below in your Xcode, click on the diamond icon with the dash in the middle).
Congratulations! You’ve written your first iOS Objective-C test!
Writing your second test
While writing our first test was awesome, the implementation wasn’t particularly interesting. After all, cells need to be able to be both dead and alive. So let’s add a second test to our CellSpec.m file:
it(@"is alive when brought to life", ^{
  Cell *cell = [[Cell alloc] init];
  [cell resurrect];
  expect([cell isAlive]).to.equal(YES);
});
So our whole file should look like:
SpecBegin(Cell)
describe(@"Cell", ^{
    it(@"is dead on creation", ^{
        Cell *cell = [[Cell alloc] init];

        expect([cell isAlive]).to.equal(NO);
    });
    it(@"is alive when brought to life", ^{
        Cell *cell = [[Cell alloc] init];
        [cell resurrect];
        expect([cell isAlive]).to.equal(YES);
    });
});
SpecEnd
If we try to run the tests (Command-U), we’ll get a failure because the method resurrect doesn’t exist. Again, we’re making a design assumption here that we’ll be using a method called resurrect to make a cell alive.
Let’s get our compiler happy by adding the following to Cell.h:
- (void)resurrect;
and the following implementation to Cell.m:
- (void) resurrect
{

}
Notice that the implementation is blank. That’s because we don’t actually have a test failure telling us to put anything in there. Now that our compiler is happy, let’s run our tests:
Alright, test failure! To make this test pass, we’ll need to promote the constant we’re using in isAlive to be a variable. Objective-C makes this easier by using properties, so let’s add the following to our Cell.h, just under our @interface line:
@property (nonatomic) BOOL aliveState;
Now we’ll change our Cell.m file to use that property:
- (BOOL)isAlive
{
    return [self aliveState];
}
-(void)resurrect
{
    [self setAliveState:YES];
}
And if we run our tests – success!
We now have one more test to write – killing alive cells. So let’s add the following test to our CellSpec.m class:
it(@"is dead when killed after being brought to life", ^{
    Cell *cell = [[Cell alloc] init];
    [cell resurrect];
    [cell kill];
    expect([cell isAlive]).to.equal(NO);
});
This fails because we don’t have the kill method, so let’s add that. Add the following to Cell.h:
- (void)kill;
And the following to Cell.m:
-(void)kill
{
}
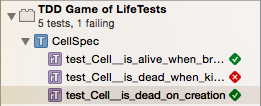
Then run our tests.
With our test failure in our place, implement the kill method:
-(void)kill
{
  [self setAliveState:NO];
}
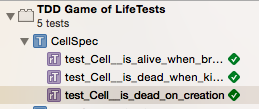
And…..green!
…Refactor
TDD’s lifecycle is known as the Red-Green-Refactor loop. We write a failing test, write just enough code to make it pass, and then refactor any duplication. In this case, our production code is pretty straightforward and doesn’t have any duplication. But our test code does – namely, the creation of the Cell class over and over. It’s important to remember that test code is still code, and should be as clean as our production code (although I will sometimes trade redability for no duplication).
We can refactor that out in our describe block. Change your code in CellSpec to look like:
SpecBegin(Cell)
describe(@"Cell", ^{
    Cell *cell = [[Cell alloc] init];
    it(@"is dead on creation", ^{
        expect([cell isAlive]).to.equal(NO);
    });
    it(@"is alive when brought to life", ^{
        [cell resurrect];
        expect([cell isAlive]).to.equal(YES);
    });
    it(@"is dead when killed after being brought to life", ^{
        [cell resurrect];
        [cell kill];
        expect([cell isAlive]).to.equal(NO);
    });
});
SpecEnd
Yay! Less code!
Lessons Learned
Now we have a basic TDD workflow setup with Expecta and Selecta that gives us the opportunity to test our code. Remember the cycle of Red-Green-Refactor: Don’t write production code where a test isn’t failing because you don’t have it.
Now go forth and have fun!
(You can see an example of this workflow in this repository up on GitHub)


Cory, thanks for a down to a point tutorial. It would be great if in the future you find time to elaborate more on testing with Specta/Expecta. Cheers!